vue 挂载路由到头部导航的方法
路由是写好了,但正确的切换路由方式不应该是我们在地址栏里面输入地址,有追求的方式是点击头部的导航菜单来切换,就像这样

我们点击上面的发现、关注、消息就切换路由导航
我们先把头部的导航写好
打开header.vue
先把vue组件的基本格式写好

然后开始布局写头部
这里很不好意思,我一直以为头部的header.vue是引入了的,实际上并没有........
打开app,vue重新编写一下
app.vue 代码:
<template>
 <div id="app">
  <!-- element-ui 容器布局 -->
  <el-container>
   <!-- 头部 -->
   <el-header>
    <!-- 头部组件渲染 -->
    <header-ly></header-ly>
   </el-header>

   <!-- 中间主要区域容器 -->
   <el-container>
    <!-- 添加一个element-ui内置的过渡动画 -->
    <transition name="el-zoom-in-center">
     <!-- 通过路由渲染不同内容的页面 -->
     <router-view/>
    </transition>
   </el-container>

   <!-- 底部 -->
   <el-footer>
    <!-- 底部组件渲染 -->
    <footer-ly></footer-ly>
   </el-footer>

  </el-container>
 </div>
</template>

<script>
// 导入组件
import HeaderLy from '@/components/header'
import FooterLy from '@/components/footer'
export default {
 name: 'app',
 components: {
  HeaderLy,
  FooterLy
 }
}
</script>

<style>
#app {
 font-family: 'Avenir', Helvetica, Arial, sans-serif;
 -webkit-font-smoothing: antialiased;
 -moz-osx-font-smoothing: grayscale;
 text-align: center;
 color: #2c3e50;
}
</style>
编写头部header.vue,这里的代码基本上可以从element-ui官网上直接copy,地址:http://element-cn.eleme.io/#/zh-CN/
<template>
 <el-row>
  <!-- 左边logo -->
  <el-col :span="4" class="logo">
   <img src="../assets/logo.png" alt="">
  </el-col>
  <!-- 中间导航区域 -->
  <el-col :span="16">
   <el-menu
    :default-active="activeIndex2"
    class="menu"
    router
    mode="horizontal"
    @select="handleSelect"
    background-color="#545c64"
    text-color="#fff"
    active-text-color="#ffd04b">
    <el-menu-item index="1">处理中心</el-menu-item>
    <el-submenu index="2">
     <template slot="title">我的工作台</template>
     <el-menu-item index="2-1">选项1</el-menu-item>
     <el-menu-item index="2-2">选项2</el-menu-item>
     <el-menu-item index="2-3">选项3</el-menu-item>
    </el-submenu>
    <el-menu-item index="3"><a href="https://www.ele.me" rel="external nofollow" target="_blank">订单管理</a></el-menu-item>
   </el-menu>
  </el-col>
  <!-- 右边用户信息以及登陆注册 -->
  <el-button-group>
   <el-button type="danger" size="small" round >login</el-button>
   <el-button type="success" size="small" round >regin</el-button>
  </el-button-group>
 </el-row>
</template>
<script>
export default {
 // ...
}
</script>
<style scoped>

</style>
这个时候浏览器中是这样的
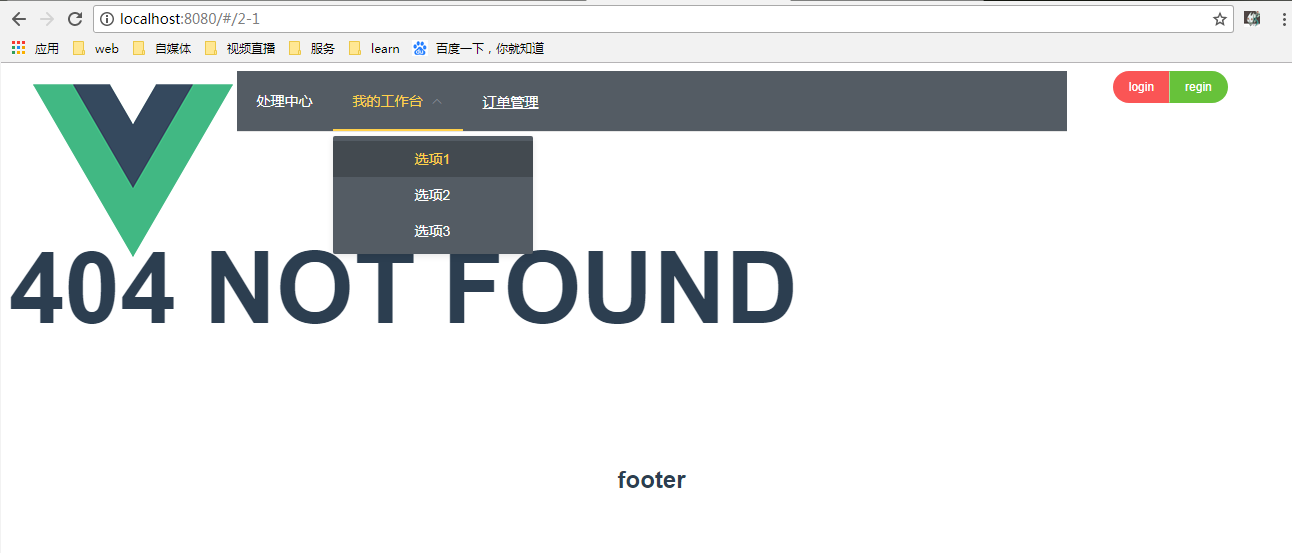
样子很丑,但这不是重点,我们点击导航的时候,他直接跳到的是
<el-menu-item index="2-1">xxxxxx<el-menu-item>,这里面的index,所以最笨的办法就是改index的值就行了,但这样就不够灵活了....
一般写导航的办法是这样的
<template>
<el-row>
<!-- 左边logo -->
<el-col :span="4" class="logo">
<img src="../assets/logo.png" alt="">
</el-col>
<!-- 中间导航区域 -->
<el-col :span="16">
<el-menu
:default-active="$route.path"
class="menu"
router
mode="horizontal"
@select="handleSelect"
background-color="#545c64"
text-color="#fff"
active-text-color="#ffd04b">
<!-- 循环写的路由,其中路由中有 hidden:true 的就不加入循环 -->
<template
v-for="route in $router.options.routes"
v-if="!route.hidden">
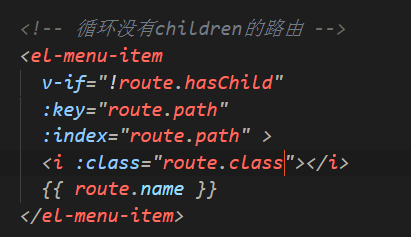
<!-- 循环没有children的路由 -->
<el-menu-item
v-if="!route.hasChild"
:key="route.path"
:index="route.path" >
{{ route.name }}
</el-menu-item>
<!-- 循环有children的路由 -->
<el-submenu v-else :index="route.path">
<template slot="title">{{ route.name }}</template>
<el-menu-item
v-for="child in route.children"
:index="child.path"
:key="child.path">
{{ child.name }}
</el-menu-item>
</el-submenu>
</template>
</el-menu>
</el-col>
<!-- 右边用户信息以及登陆注册 -->
<el-button-group>
<el-button type="danger" size="small" round >login</el-button>
<el-button type="success" size="small" round >regin</el-button>
</el-button-group>
</el-row>
</template>
<script>
export default {
// ...
methods: {
handleSelect () {
console.log('菜单选择之后的回调操作')
}
}
}
</script>
<style scoped>
</style>
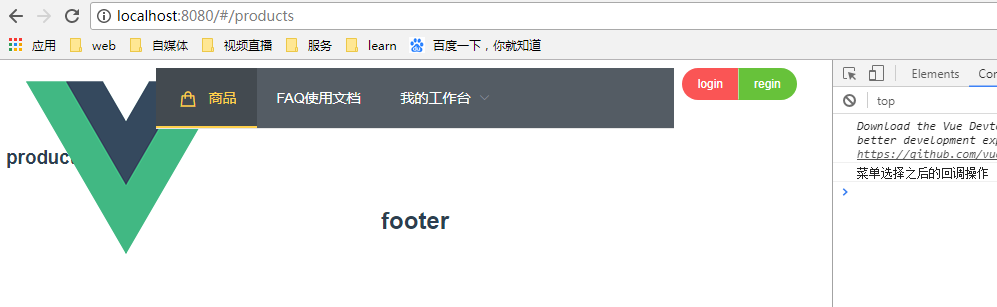
这样在浏览器中的效果
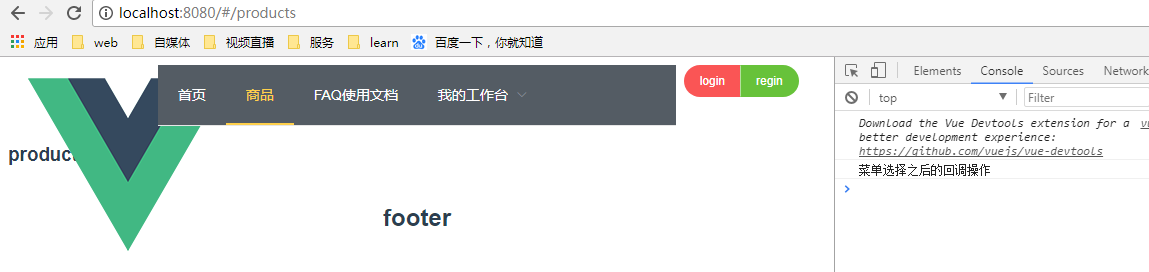
这样点击导航菜单之后的跳转就完全正常了,这样写的好处就是很灵活,如果要加icon图标的话,也可以直接在router/index.js里面的配置路由部分加个字段class:classname,然后在循环的时候输出就可以了。当然这里一般是不把首页这个导航菜单显示出来的,我们可以直接在路由配置中加个hidden:true 就实现了
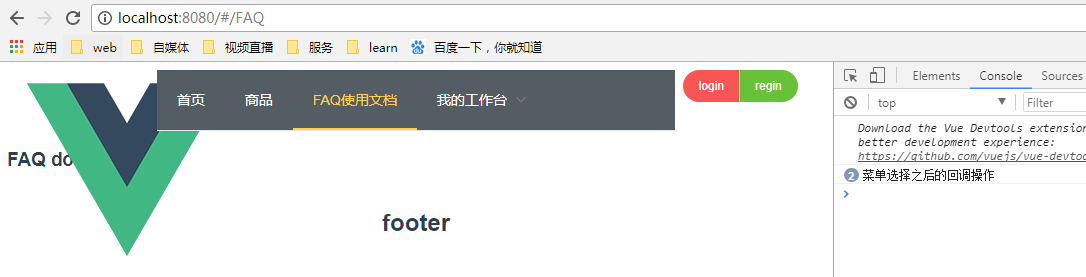
就像这样

效果
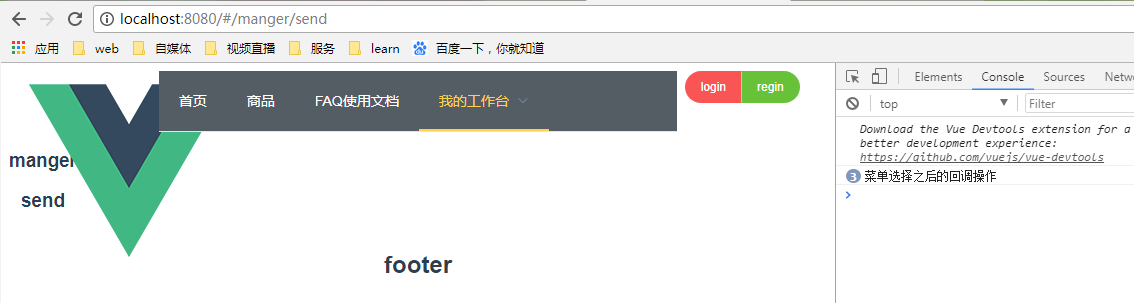
只需要简单的修改就可以完成了
这样在导航上挂路由就完成了,接下来写写样式,完善一下功能header.vue就差不多完成了
以上就是本文的全部内容,希望对大家的学习有所帮助,也希望大家多多支持积木网。
利用HBuilder打包前端开发webapp为apk的方法
现在的前端开发可谓是,百花齐放啦,什么都可以做,只有想不到没有做不到的,今天就简单的介绍用vue,ng或者是react开发的单页应用如何打包为apk,
Vue.js用法详解
vue.js教程Vue.js(读音/vju/,类似于view)是一套构建用户界面的渐进式框架。Vue只关注视图层,采用自底向上增量开发的设计。Vue的目标是通过尽可能简单
Angular实现表单验证功能
Angular表单验证分为两种验证:1.内置验证(required,minlength等);2.自定义验证(正则表达式)。接下来我们用一个注册账号的demo来看一下这两种验证是
标签:路由,头部,组件,菜单,写好